There are two methods of adding check-in points for customers.
Method #1 - Tablet Keypad (Kiosk)
In the left side panel when logged in to the software, you can find the Tablet Keypad module. Basically, it lets you create a tablet keypad that you can use as a kiosk at the business' front desk or cashier area. Once you created a keypad, you can copy its link and open up that link on a tablet or iPad intended for use of the business. Below is a sample:

First-time customers can enter their phone number and then they'll get subscribed to the campaign that you selected for that keypad. At the same time, they'll also get their first check-in point. Nth customers, on the other hand, will receive another check-in point when they enter their number again.
Method #2 - Client Portal
Client Portal Settings is located in Contact Reach settings.

The Client Portal can be used by restaurant/business staff. You can create a client portal account for the staff.

The staff can then log in to their client portal account by using the same Contact Reach login URL that you use (www.contactreach.co/app/login) or your Whitelabel domain.
When logging in, this is what it looks like at first:
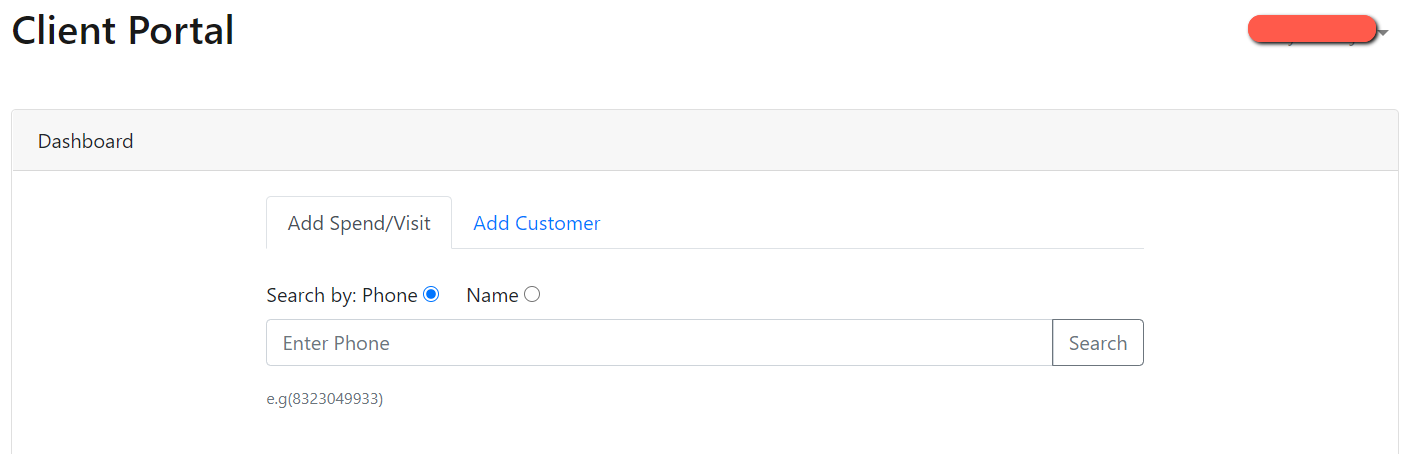
Now, for the staff to manually add check-in points to a customer (provided that the customer is an existing subscriber of any of the campaigns), the staff needs to simply enter the phone number of the customer (Search by phone) or their name (Search by name) in the search field and then click Search. Then select the coupon connected to the Loyalty Campaign, enter the Bill total (since check-ins come with purchases), and then click Submit. Then they need to make sure to enable the Add Check-in Point so the customer will get a check-in point for that submission.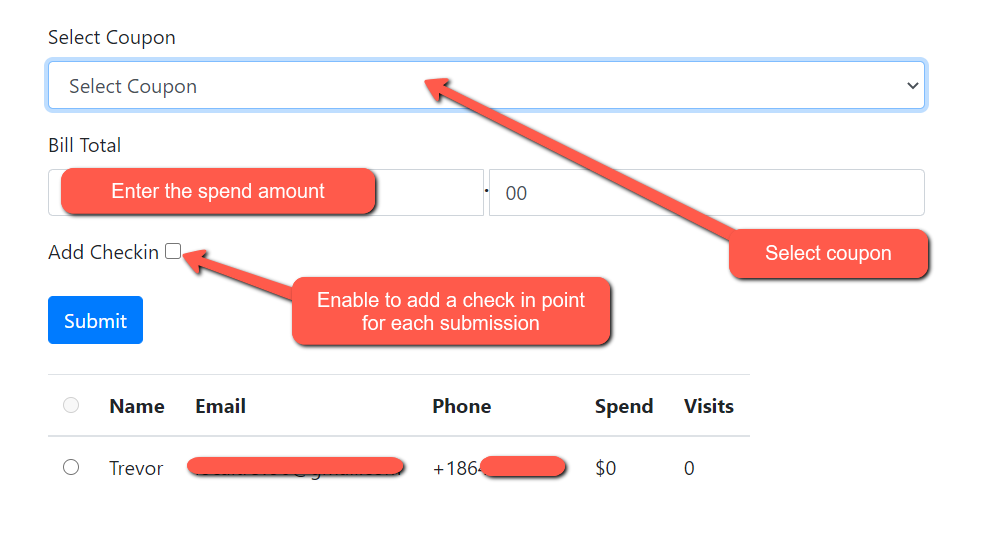
The staff can also use the client portal to subscribe new customers to a campaign.